
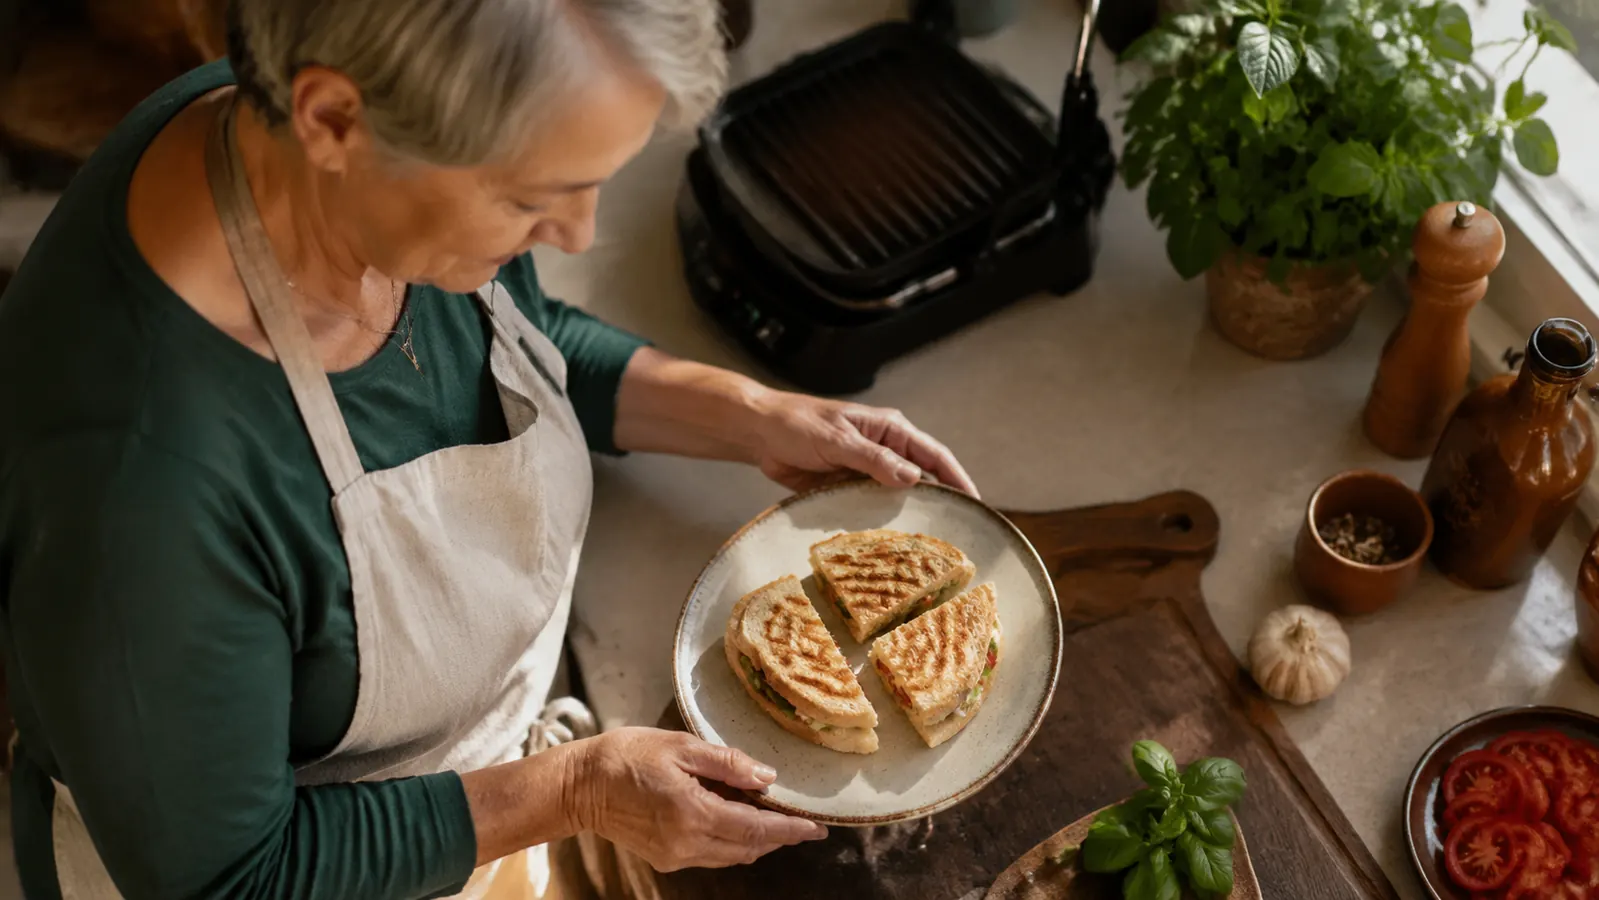
I used to think a good panini needed a restaurant kitchen, or at the very least a stove, a cast iron skillet, and a second skillet to press it down while I stood there babysitting it. Then I downsized into this apartment three years ago, gave up my full-size range for a two-burner cooktop, and picked up a George Foreman GR10B mini grill mostly because it was small enough to fit in the one open cabinet I had left. I did not expect it to become the thing I reach for almost every day.
A panini is really just a grilled cheese with better bread and a job promotion. The mini grill does the two things that matter most, even heat on both sides at once and enough pressure to compress the sandwich without you standing there holding a spatula on it. What follows is exactly how I build and grill one, step by step, the way I've landed on it after probably 150 sandwiches on this little machine.
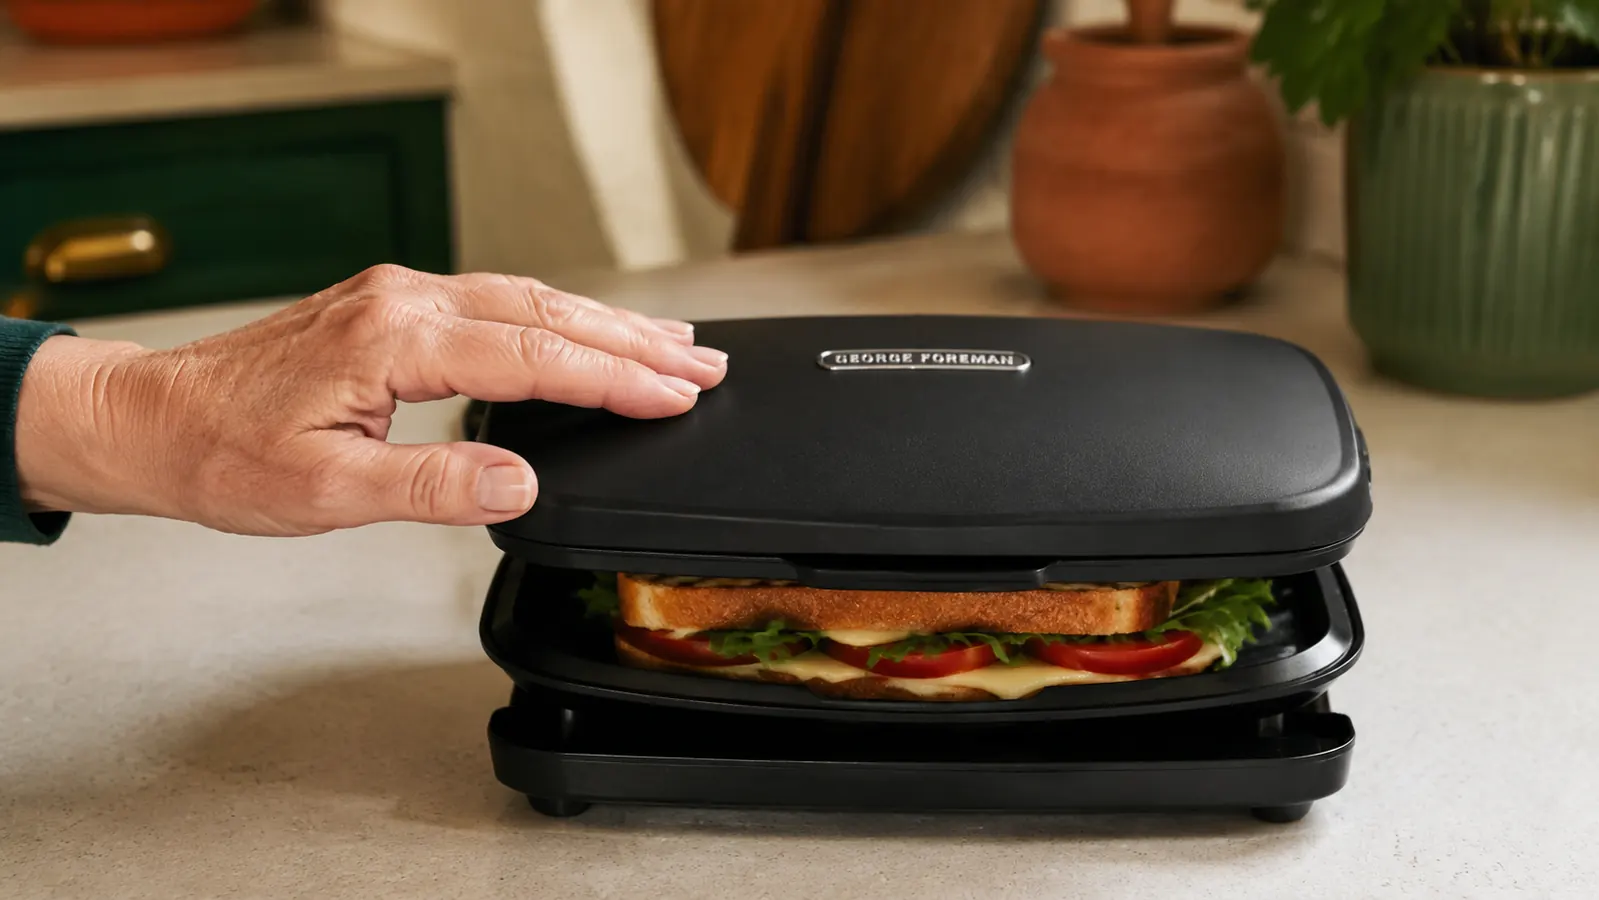
This is the grill I'm using in every photo below.
The George Foreman GR10B is a 2-serving mini grill and panini press with a 7.3 by 5.6 inch cooking surface, small enough to store in a drawer and fast enough to have lunch ready before you've finished setting the table.
Amazon Check Today's Price on Amazon →Step 1: Pick bread that can hold up to pressure
This is the step people skip and then wonder why their panini turned into a flat, gluey pancake. Soft sandwich bread will compress into wallpaper paste under the lid. You want something with actual structure, ciabatta, a sturdy sourdough, a French baguette split lengthwise, or a dense multigrain loaf. I keep a par-baked ciabatta loaf in my small freezer specifically for this, and I slice off two pieces about three-quarters of an inch thick whenever I want panini.
If your bread is more than an inch thick on each side, trim it down. My mini grill's plates close to a fixed gap, they're not a full floating hinge that adjusts to any sandwich height, so a too-thick sandwich just won't seal properly in the middle even if the edges look fine. Thinner slices, more contact, better crisp.
One more thing I learned the hard way, day-old bread actually grills better than fresh. Fresh bread has more moisture and steams instead of crisping. If my ciabatta is fresh, I'll leave the slices out on the counter uncovered for twenty minutes before I build the sandwich. And if I only have soft sandwich bread on hand, I've found a workaround, I toast both slices lightly in advance so they have a head start on structure before the fillings and pressure hit them. It's not quite the same as real crusty bread, but it saves a sandwich from turning to mush.
Step 2: Butter or oil the outside, not the inside
Softened butter on the outside faces of the bread is what gives you that deep golden color and crackly crust. I use a butter knife straight from the fridge and just smear a thin layer, corner to corner, on the two outer sides that will touch the grill plates. If I'm out of butter or trying to keep things lighter, a light brush of olive oil does almost the same job, just a slightly different flavor and a bit less browning.
Do not skip this step to save calories. A dry piece of bread against a nonstick plate will still cook, but it comes out pale and a little tough instead of crisp. This is the difference between a panini and toast with stuff on it. My late husband used to tease me about how much I fussed over this one detail, but he never turned down a second sandwich either.
A trick I picked up somewhere along the way, mix a small pat of softened butter with a pinch of garlic powder or a little grated parmesan before spreading it. It sounds fussy for a five-minute lunch, but it takes ten extra seconds and turns an ordinary panini into something that tastes like it came from a little Italian shop down the street.
Step 3: Layer fillings that melt evenly and won't leak
My go-to is simple, sliced provolone or mozzarella, thin-sliced deli turkey or ham, and something with a little acid to cut through the richness, a few slices of tomato or a smear of pesto. The order matters more than people think. Cheese should touch the bread on both sides if you can manage it, that's what glues the sandwich together once it melts. So I do bread, cheese, meat, tomato, cheese again, bread.
Keep wet ingredients modest. Tomato, pickles, roasted peppers, anything with real moisture should be patted dry with a paper towel first and used in a thin layer, not piled on. Under pressure and heat, excess moisture squeezes out the sides and either drips onto your grill plates or turns your bread soggy in the middle. I learned this one from a panini that basically fell apart into three pieces the second I cut it.
Don't overload the sandwich either. My mini grill's cooking surface is 7.3 by 5.6 inches, which is plenty for a real lunch-size panini, but it's not built for a triple-decker. Two to three thin layers of filling is the sweet spot. Pile it higher and the grill won't close evenly, and you'll get a sandwich that's toasted on the edges and cold in the middle.
My two favorite combinations after three years of experimenting are a turkey, provolone, and apple slice panini in the fall, and a simple caprese version in the summer with fresh mozzarella, tomato, and basil finished with a drizzle of balsamic after it comes off the grill. Neither one takes more than a few minutes to assemble, and both hold together fine as long as I remember to blot the tomato first.
Step 4: Preheat, then grill with real pressure
Plug in the grill and let the indicator light tell you it's ready, usually about five minutes on mine. Skipping preheat is another common mistake, it drops your surface temperature and means the bread sits there absorbing heat slowly instead of searing right away, which is how you end up with pale, floppy panini instead of crisp ones.
Once it's hot, place the sandwich in the center of the lower plate and close the lid. Here's the part that surprises people, you don't need to lean on it or press down hard. The floating hinge on the top plate is designed to settle onto the sandwich with its own weight and compress it evenly as the bread softens slightly from the heat. If you push down hard right away, you risk squeezing all the filling out the sides before the cheese has even started to melt.
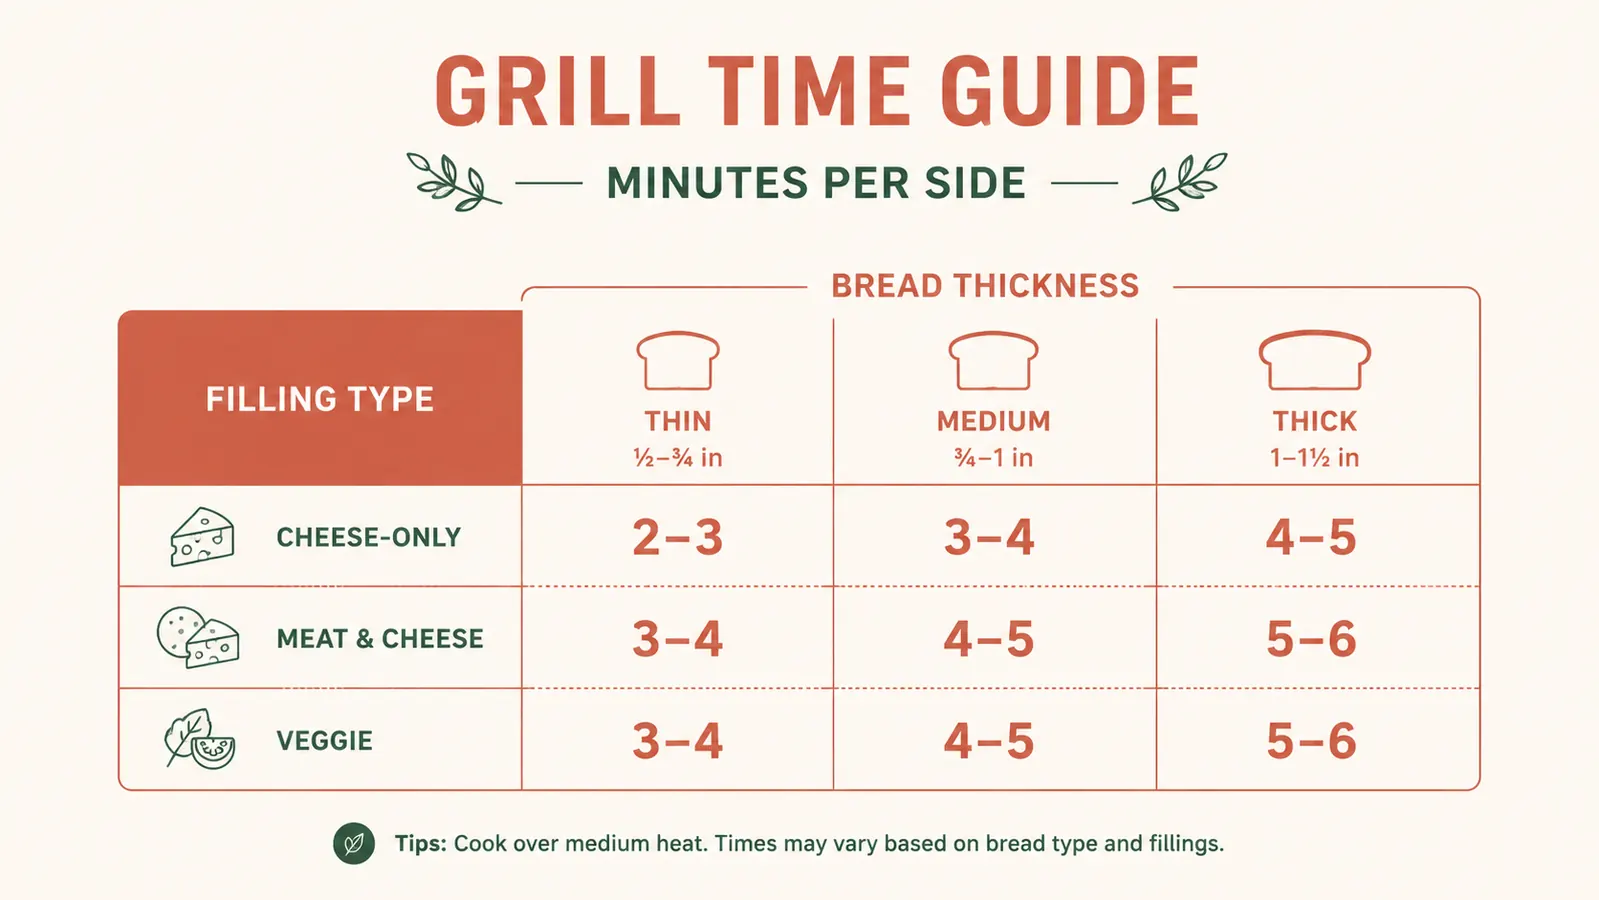
I grill mine for four to five minutes for a standard turkey and provolone panini, closer to six if I've got a thicker filling like a chicken breast in there. You'll know it's close when you start to smell that toasted-butter aroma and can see steam easing out from the sides of the lid.
Step 5: Check, rest, and cut on the diagonal
At the four-minute mark, I lift the lid just enough to peek. You're looking for deep golden brown grill lines, not black, and cheese that's visibly softened at the edges. If it needs another minute, close it back up rather than leaving it open and losing heat. Every grill runs slightly differently, and mine tends to run a touch hotter near the back plate, so I've learned to rotate the sandwich 180 degrees halfway through if I'm cooking something thick.
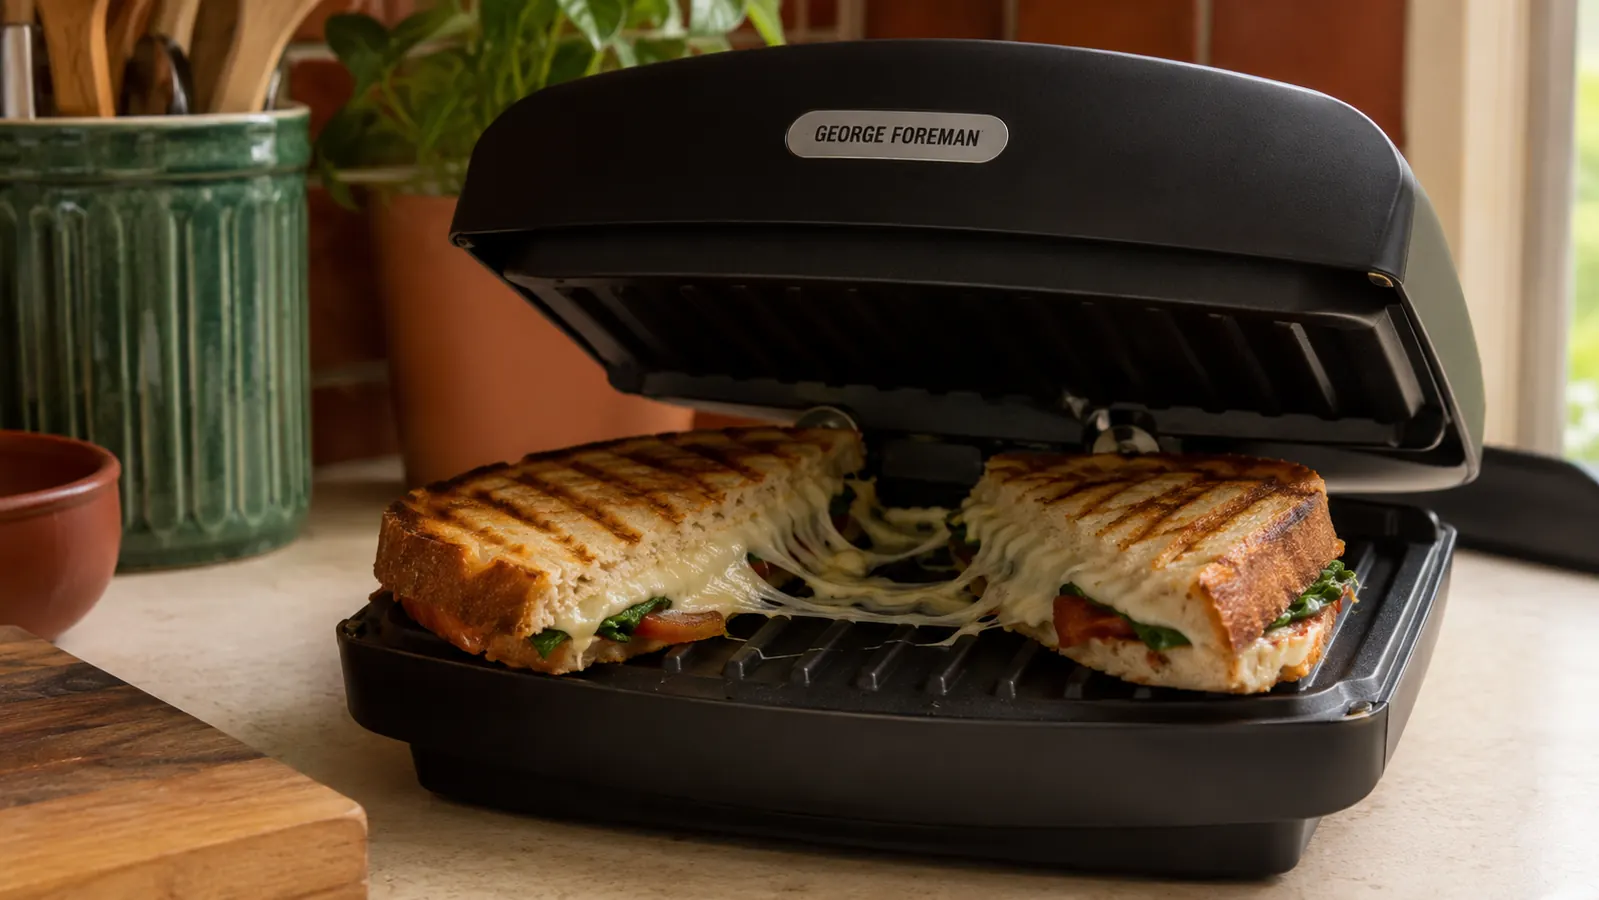
When it's done, use a silicone spatula, not a metal one, to lift it off the nonstick plates and onto a cutting board. Let it sit for a full minute before you cut into it. I know that's the hardest step because it smells incredible at this point, but that minute lets the cheese firm up just slightly so it doesn't all ooze out the second you slice it. Cut on the diagonal. It's not just presentation, a diagonal cut gives you a wider cross-section to see the layers and makes the sandwich easier to hold without the fillings sliding out.
Unplug the grill and let the plates cool most of the way before wiping them down with a damp cloth or paper towel. Mine has never needed anything harsher than that, the nonstick coating has held up fine after three years of near-daily use. I keep a soft sponge dedicated just to this grill so I'm never tempted to scrub it with anything abrasive.
What Else Helps
A few small habits have made a bigger difference than any fancy filling combination. First, bring cold ingredients like cheese and deli meat closer to room temperature for ten minutes before building the sandwich, straight-from-the-fridge fillings drag down your grill's surface temperature and slow the melt. Second, if you're doing more than one panini in a row, wipe the plates with a paper towel between sandwiches to clear off any butter residue, it keeps the next one from browning unevenly. Third, resist the urge to crank up the heat if your grill has adjustable settings. Mine doesn't, it runs at one fixed temperature, and honestly I've never missed having a dial. A consistent, moderate heat with proper preheat time gets you there without babysitting a thermostat.
Storage is the other reason this grill earns its keep in a small kitchen. It stands upright on its side when the lid is latched shut, so it takes up barely more room than a large cookbook tucked into a cabinet. I don't have a dedicated appliance garage like I did in my old house, just one cabinet above the microwave, and this grill lives there next to my hand mixer without any trouble. When I had a full-size stovetop grill pan, cleaning it meant soaking it in the sink for twenty minutes and scrubbing with a brush. This one wipes clean in under a minute while it's still warm, which honestly is the difference between making panini on a random Tuesday and only making it when I feel like a project.
If your panini comes out scorched on the outside before the cheese has melted, the fix usually isn't the grill, it's the bread being too thick or the filling being too cold. If it comes out pale and soggy, check that you preheated fully and that you're not overloading it with wet ingredients. Once you've made a few, you'll start to feel when a sandwich is ready just from the smell and the steam, the same way you learn to tell when toast is about to pop.
One last thing worth mentioning for anyone cooking for just themselves, this size grill genuinely is built for one or two servings, not a family of four. That's exactly why it earns its spot on my counter. I'm not scrubbing a full griddle for a single sandwich, and I'm not heating up a big oven for something that takes five minutes on the stovetop equivalent. It does one job, and it does it well, which is really all I ask of any small kitchen appliance these days.
The bread and the pause before cutting matter more than any fancy filling I've ever tried.
Ready to make panini a weeknight habit instead of a special occasion?
The George Foreman GR10B is compact enough to live in a cabinet or drawer and heats up fast enough for a real lunch in under ten minutes start to finish.
Amazon Check Today's Price on Amazon →