
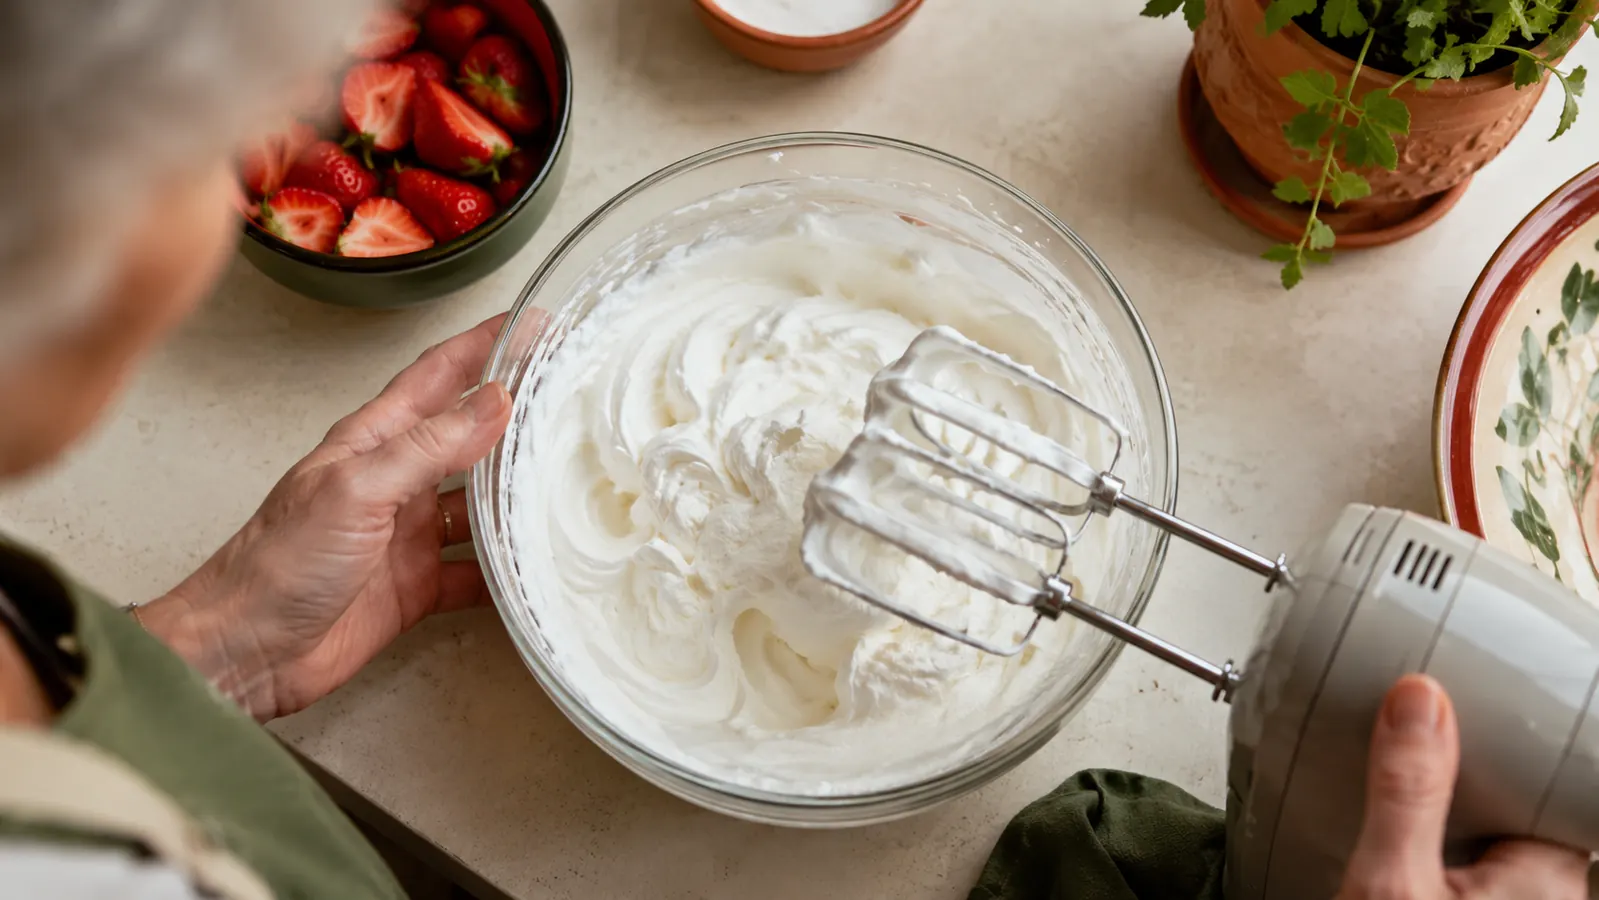
The first time I whipped cream in my new kitchen, I overdid it. I got distracted looking for a spatula, came back, and had a bowl of cream that was two seconds from turning into butter. Grainy, separating, not what I wanted for the peach cobbler cooling on the counter. That was the day I learned whipped cream is less about the appliance and more about paying attention, and it's also the day I stopped trying to do it with a whisk I'd owned since my thirties.
I make whipped cream two, sometimes three times a week now. Coffee, pie, the occasional bowl of berries when I want to feel fancy. My tool of choice is a Hamilton Beach 6-Speed hand mixer, the small white one that lives in the drawer under my stovetop because it's light enough to store standing up. It handles cream faster and more evenly than a whisk ever did for me, and it doesn't take up counter space like my old stand mixer did before I downsized out of my house of thirty years and into this smaller place. This guide walks through the exact process I use, start to finish, including the two mistakes that ruin a bowl of cream the most often, and a few small habits that took me longer than I'd like to admit to figure out.
The mixer that turned whipped cream into a two-minute job
If you're still doing this by hand or dragging out a bulky stand mixer for a small bowl of cream, the Hamilton Beach 6-Speed Hand Mixer is worth a look. It's compact, has a whisk attachment built for exactly this, and stores in a drawer instead of taking up counter space.
Amazon Check Today's Price on Amazon →Step 1: Chill everything before you start
Cold is the whole game with whipped cream. Fat holds air better when it's cold, so I put my metal mixing bowl and the mixer's whisk attachments in the freezer for about ten minutes before I start. If I'm short on time, even five minutes in the freezer helps more than nothing. I also keep my heavy cream in the fridge until the moment I'm ready to pour it, never sitting out on the counter while I gather other ingredients, because room-temperature cream simply won't whip up as tall or hold its shape as long.
I use a metal or glass bowl, not plastic. Plastic holds onto grease and odors in a way that can keep cream from whipping up properly, and it doesn't chill as well or as fast as metal does. A simple stainless steel mixing bowl works fine and it's what I reach for every time. If your kitchen runs warm, especially in summer, you can even chill the bowl overnight in the freezer and pull it out right before you start, which buys you extra time before the cream starts to soften back down.
For reference, a pint of heavy cream, about two cups, whips up to roughly four cups of finished whipped cream, which is more than enough for a pie or a batch of coffee toppings that'll last through the week. I usually do a full pint since it keeps fine in the fridge for a couple of days in a sealed container, and it saves me from having to repeat the whole process every other morning.
Step 2: Add sugar and vanilla before you turn the mixer on
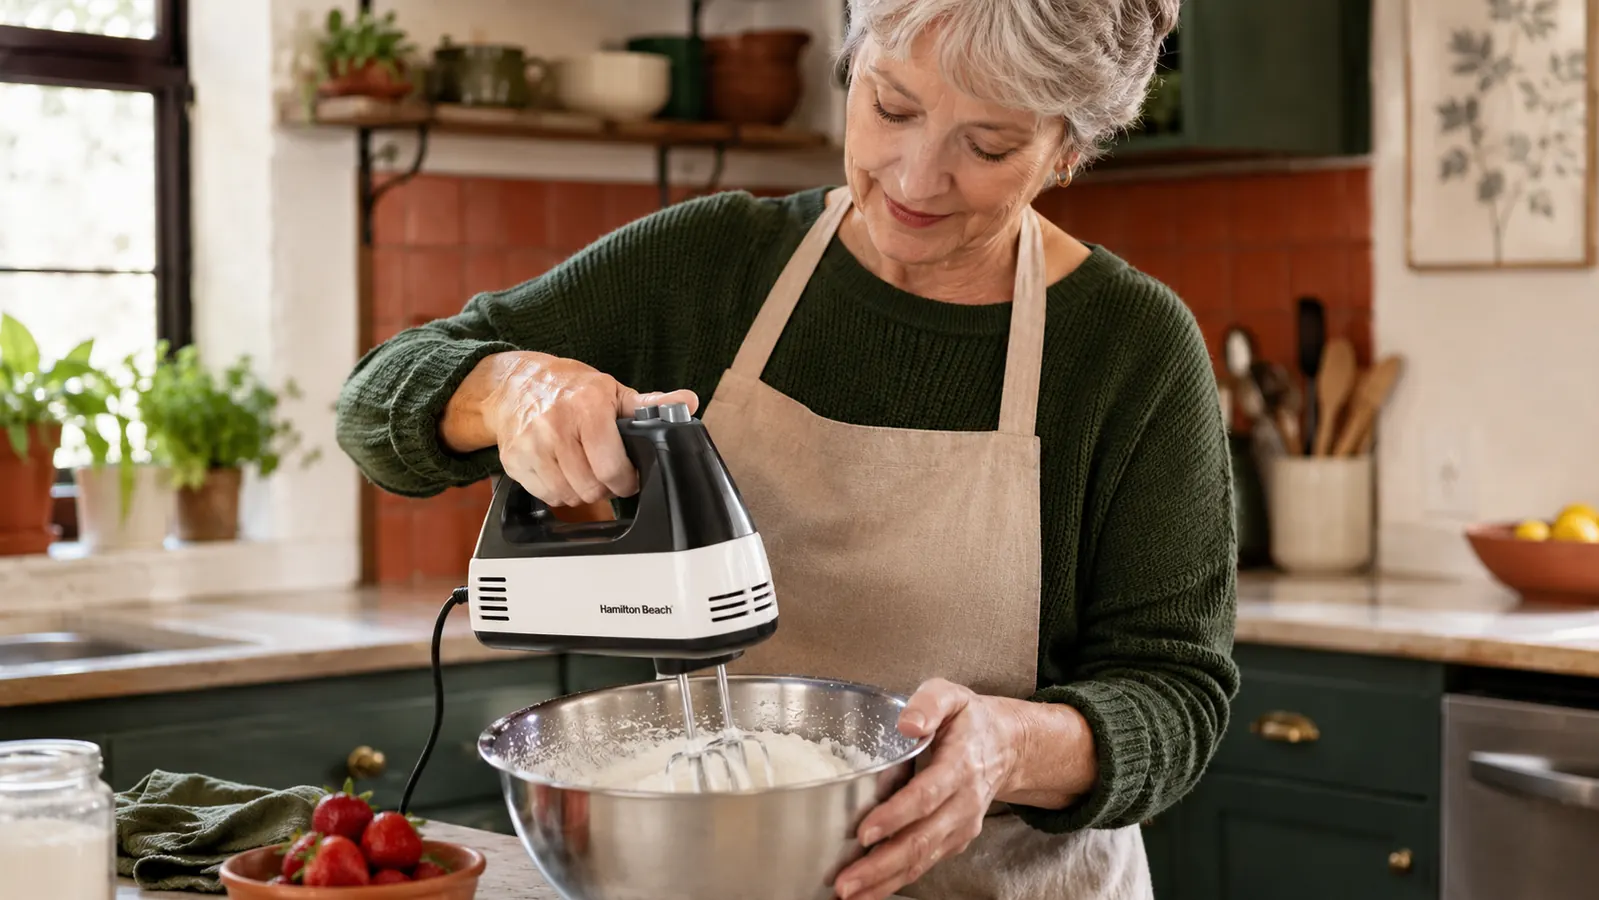
I pour the cold heavy cream into the chilled bowl, then add about two tablespoons of powdered sugar and a half teaspoon of vanilla extract per cup of cream. Powdered sugar dissolves faster than granulated sugar and gives a smoother texture, which matters more than people think once you taste the difference side by side. Granulated sugar can leave a faint grit if the cream doesn't whip long enough to fully dissolve it, and powdered sugar sidesteps that problem entirely.
Here's the part I got wrong for years: I used to add sugar and vanilla at the end, after the cream had already started to thicken. That works, but it's harder to fully dissolve the sugar once the cream has body to it, and I'd sometimes end up folding in dry pockets by hand afterward. Now I add both right at the start, before I turn the mixer on at all. It blends in evenly as the cream whips and I don't get any gritty pockets in the finished bowl. If you like your whipped cream a little less sweet, one tablespoon per cup is plenty, and if you're making it for a kid's birthday cake, I won't judge you for going up to three.
A note on the cream itself: I always reach for heavy whipping cream, not the lighter cream or half and half cartons that sit next to it in the dairy case. Heavy cream needs at least 36 percent milk fat to whip up properly and hold a peak, and anything lighter just won't get there no matter how long you run the mixer. I learned this the hard way once when I grabbed the wrong carton in a hurry and spent ten minutes wondering why nothing was thickening.

Step 3: Start low, then build up speed gradually
I start the Hamilton Beach mixer on speed 1 or 2 for about 30 seconds. This keeps the cream from splashing out of the bowl before it has any structure, and it starts breaking up the fat evenly across the whole batch instead of just at the surface. Once it looks a little frothy and pale, almost like it's starting to foam at the edges, I move up to speed 4 for the bulk of the whipping.
I hold the mixer at a slight angle, tilted maybe 20 degrees, and move it in slow circles around the bowl rather than holding it dead center in one spot. This keeps the whole batch whipping at the same rate instead of ending up with whipped cream around the edges and liquid cream in the middle, which used to happen to me constantly with a hand whisk when my wrist got tired halfway through. The 6-speed dial on this mixer makes the jump from frothy to thick pretty easy to control, which is the main reason I switched away from doing this by hand. My wrist thanks me every single time, and honestly so does my patience.

Step 4: Watch for soft peaks, then slow down
This is where most people either stop too early or blow right past the point of no return. Soft peaks happen when you lift the beaters out of the cream and the peak droops right back over, like a wave that never quite breaks. That's the stage you want for folding whipped cream into a mousse or a lighter dessert where you want it to stay soft and airy rather than firm.
For topping pie or coffee, I keep going until I hit medium to stiff peaks, meaning the peak holds its shape with just a small curl at the very tip when you lift the beaters straight up. At this point I drop the mixer down to speed 2 or 3 and check every 10 to 15 seconds by lifting the beaters out of the cream and looking at what's left behind. Once the peak stands up straight with barely any droop, I stop immediately, no exceptions. The whole process from start to stiff peaks usually takes me three to four minutes total with this mixer, sometimes less if my cream was extra cold going in, which is one more reason chilling everything up front is worth the extra five minutes.
Step 5: Know the difference between done and ruined
Whipped cream moves fast in the last 20 seconds. One moment it's glossy and smooth, and thirty seconds later it looks curdled and grainy, on its way to becoming butter and buttermilk. If that happens, you haven't ruined your ingredients, you've just made butter a little early. I've folded that grainy mixture with a splash of fresh cold cream and gotten it to smooth back out once or twice, but it's not reliable, and I wouldn't count on it for company. Most of the time I just start over with the mixer on a lower speed and pay closer attention, which is honestly the better use of five extra minutes than trying to rescue an over-whipped batch.
The safest habit I've built is to stop mixing a few seconds before I think it's fully done, then finish the last bit by hand with a whisk for 10 to 15 seconds. That gives me total control right at the finish line instead of relying on the mixer's momentum to stop exactly when I want it to. It sounds fussy written out like this, but after you've done it a few times it becomes second nature, the same way you learn to pull toast a shade before it looks done because it keeps browning after it pops.
Whipped cream isn't hard, it just moves fast at the end. The mixer gets you 90 percent of the way there in two minutes. The last 10 percent is about paying attention, not speed.
What Else Helps
A few small habits make this easier every time. I keep a spare set of beaters in the freezer along with the bowl, since I whip cream often enough that it's worth the freezer space. If my kitchen is warm, especially in the summer, I'll even chill the cream carton itself for a few extra minutes before pouring, sitting it in a bowl of ice water while I gather everything else. And I always taste as I add sugar, because some cream brands are naturally a little sweeter than others depending on the dairy, and a splash more or less makes a real difference in the final flavor.
If you want stabilized whipped cream that holds up longer on a cake or in the fridge overnight, a teaspoon of unflavored gelatin dissolved in warm water and cooled slightly, added right before the final whip, works well and keeps the peaks from weeping the next day. I only bother with that for special occasions since plain whipped cream is usually gone within a day around here anyway, between coffee and whatever dessert I'm working through that week. For everyday use, the five steps above are all you need, and once you've done it a handful of times you won't need to think about any of it.
Quick Troubleshooting
If your cream won't thicken past a thin froth after a few minutes, the most likely culprit is temperature, either the cream, the bowl, or your kitchen is too warm. Stick everything back in the fridge for ten minutes and try again. If it whips but tastes flat, you probably need more vanilla or a pinch of salt, which sounds odd but rounds out the sweetness nicely. And if you're using an older or lower-wattage mixer and it seems to be struggling, don't force it by pressing down hard into the bowl. Let the beaters do the work at a steady angle and give it another minute rather than muscling through, which is usually what leads to overbeating right when you finally get impatient.
Ready to stop babysitting a whisk?
This is the exact mixer I use for every batch of whipped cream in my kitchen. Six speeds, a snap-on storage case, and it's small enough to keep in a drawer instead of on the counter.
Amazon Check Today's Price on Amazon →