

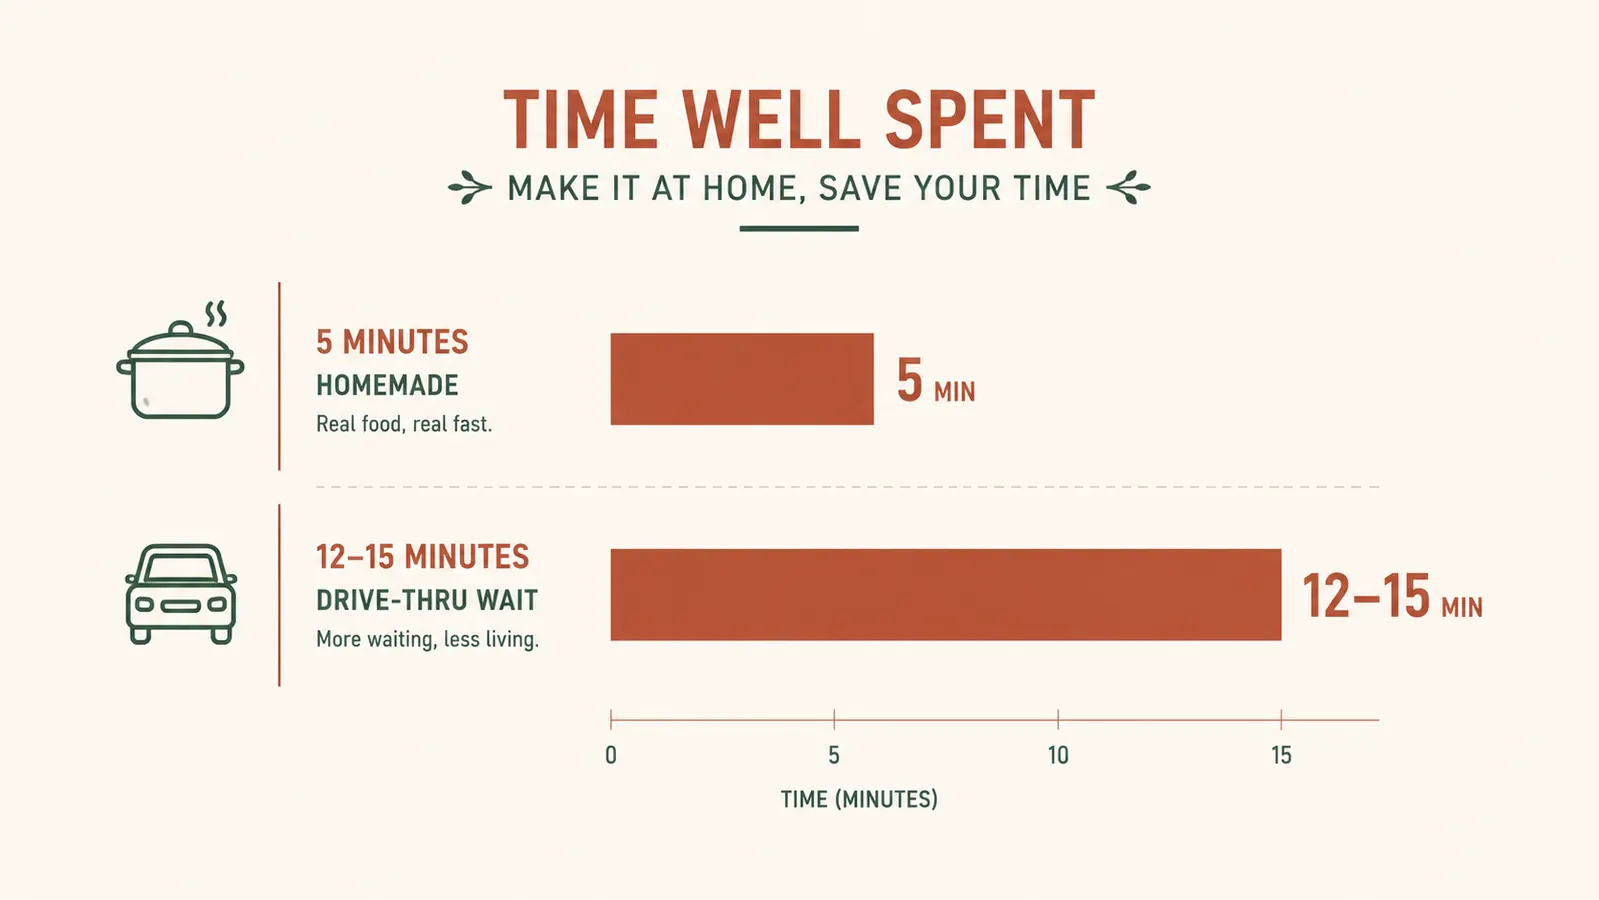
For years my weekday breakfast was whatever I could eat standing up, usually toast with the crumbs falling into the sink, or nothing at all if I was running late for the pool or a doctor's appointment. I never thought I'd be someone who made an actual layered breakfast sandwich on a weekday, the kind with a perfectly round egg and melted cheese pressed between a toasted English muffin, but the Hamilton Beach Breakfast Sandwich Maker changed that math completely. It takes about five minutes, most of which is hands-off, and it turns out a sandwich that looks and tastes like something you'd pay six dollars for at a drive-thru window.
This isn't a review, I've written that elsewhere on the site. This is the exact method I use most mornings, broken into five steps, with the small details that make the difference between a sandwich that holds together and one that falls apart in your hand halfway through your first bite. I'll also cover ingredient swaps and a few mistakes I made early on, because the appliance is a lot more flexible than the photos on the box suggest, and most of the frustration people run into comes down to one or two easily fixed habits.
The appliance that makes this whole method possible
Everything below assumes you have a dedicated breakfast sandwich maker with a separate egg ring and a rotating top layer. That's what makes the round egg and even melt happen without babysitting a pan. Check today's price on the Hamilton Beach Breakfast Sandwich Maker before you keep reading.
Amazon Check Today's Price on Amazon →Step 1: Prep your ingredients before you plug anything in
The appliance itself only takes about five minutes start to finish, but that number falls apart if you're still slicing cheese while the egg is cooking. Before I turn the machine on, I lay out everything on a cutting board: one English muffin split in half, one slice of cheese (I like sharp cheddar, but Swiss and American both work fine), one slice of Canadian bacon or a small sausage patty, and one egg cracked into a small cup or ramekin. Having the egg pre-cracked matters, because you'll be pouring it into a hot ring within seconds and you don't want to be fumbling with a shell at that moment, especially while the machine is already running.
If I'm making sandwiches for both my husband and me, I prep two full sets side by side on the counter so I'm not doing this twice, running back and forth to the fridge mid-cook. It sounds like a small thing, but mise en place is the actual secret to hitting the five-minute mark, not the appliance alone. I learned this the hard way the first week, when I kept the machine running while I went hunting for cheese in the back of the fridge and ended up with a slightly overcooked muffin bottom.
One more prep note: let your egg sit out for a minute or two if it's straight from the fridge. A cold egg poured into a hot ring cooks a little unevenly, setting firm on the outside before the center catches up. Not a dealbreaker, and plenty of mornings I skip this step entirely because I'm in a hurry, but it's something I noticed after a few dozen sandwiches and it's worth knowing if your eggs keep coming out with a slightly rubbery edge.
Step 2: Preheat and layer the base
Plug in the sandwich maker and give it about four minutes to fully preheat. There's an indicator light that tells you when it's ready, and I've learned not to rush this part, even on mornings when I'm eyeing the clock. An underheated machine gives you a muffin that's warm but not toasted, and the whole point of this exercise is replicating that griddled, slightly crisp English muffin exterior you get at a fast-food counter. Skip the wait and you end up with something closer to a microwaved sandwich, soft all the way through, which isn't what anyone is going for here.
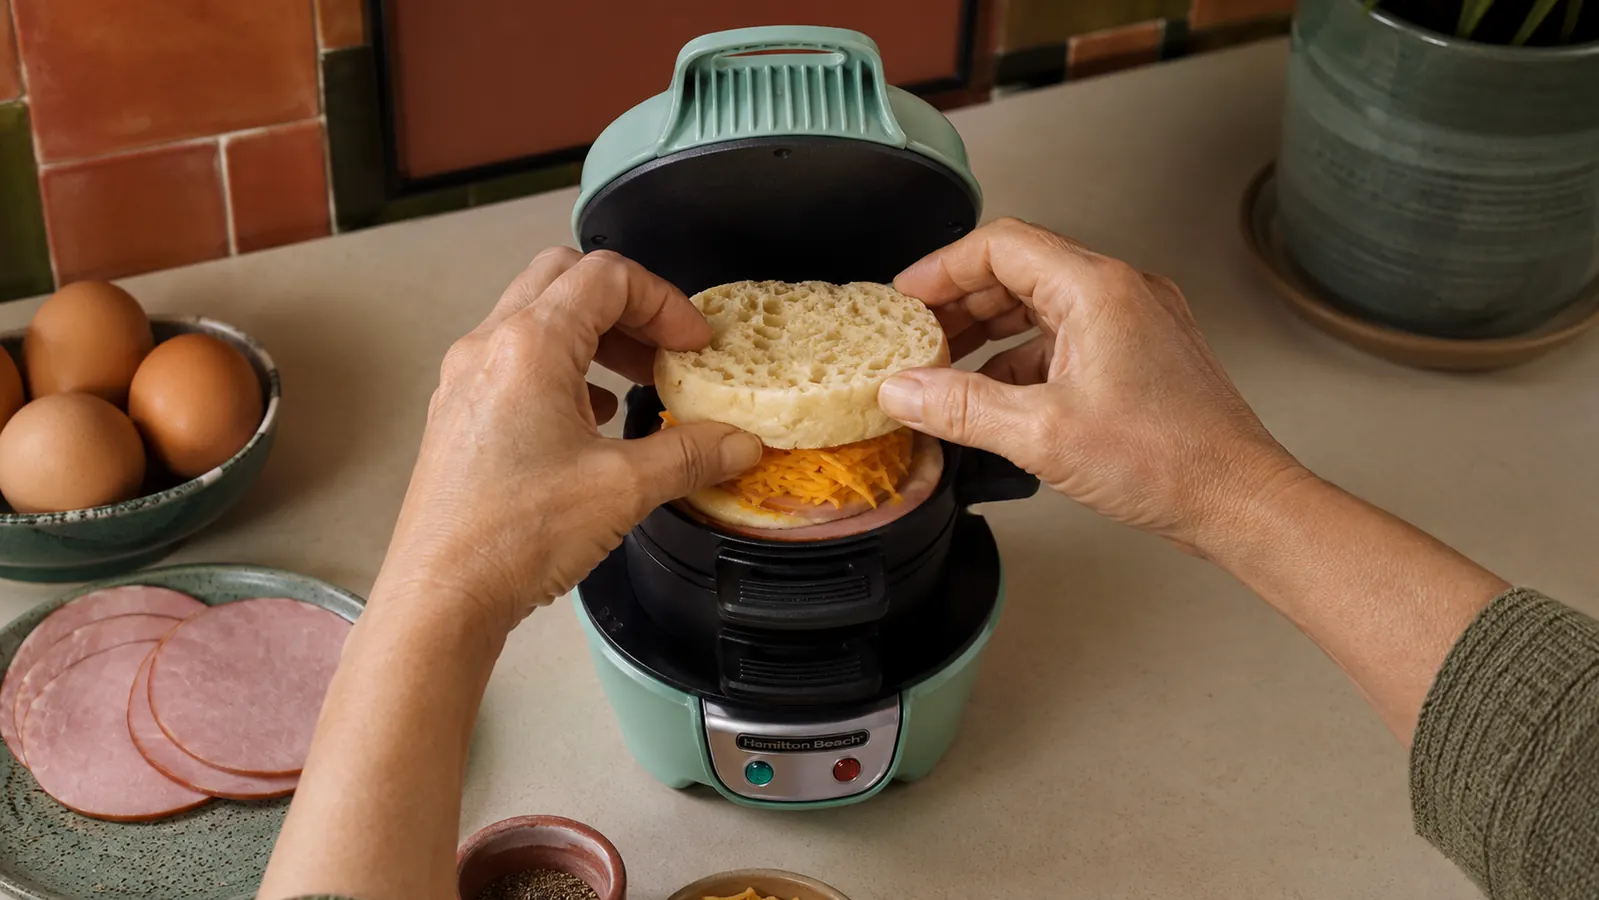
Once it's hot, open the lid and place the bottom half of your English muffin cut-side down into the lower plate. On top of that goes your meat, whatever you're using that day. I do Canadian bacon most mornings because it crisps up nicely in the short cook time and doesn't add much grease to clean up afterward, but a thin sausage patty or a couple slices of turkey bacon work fine too. If you're using a thicker sausage patty, I'd microwave it for thirty seconds first, since the machine's total cook time isn't quite long enough to fully cook raw sausage from cold.
Step 3: Add the egg ring and pour
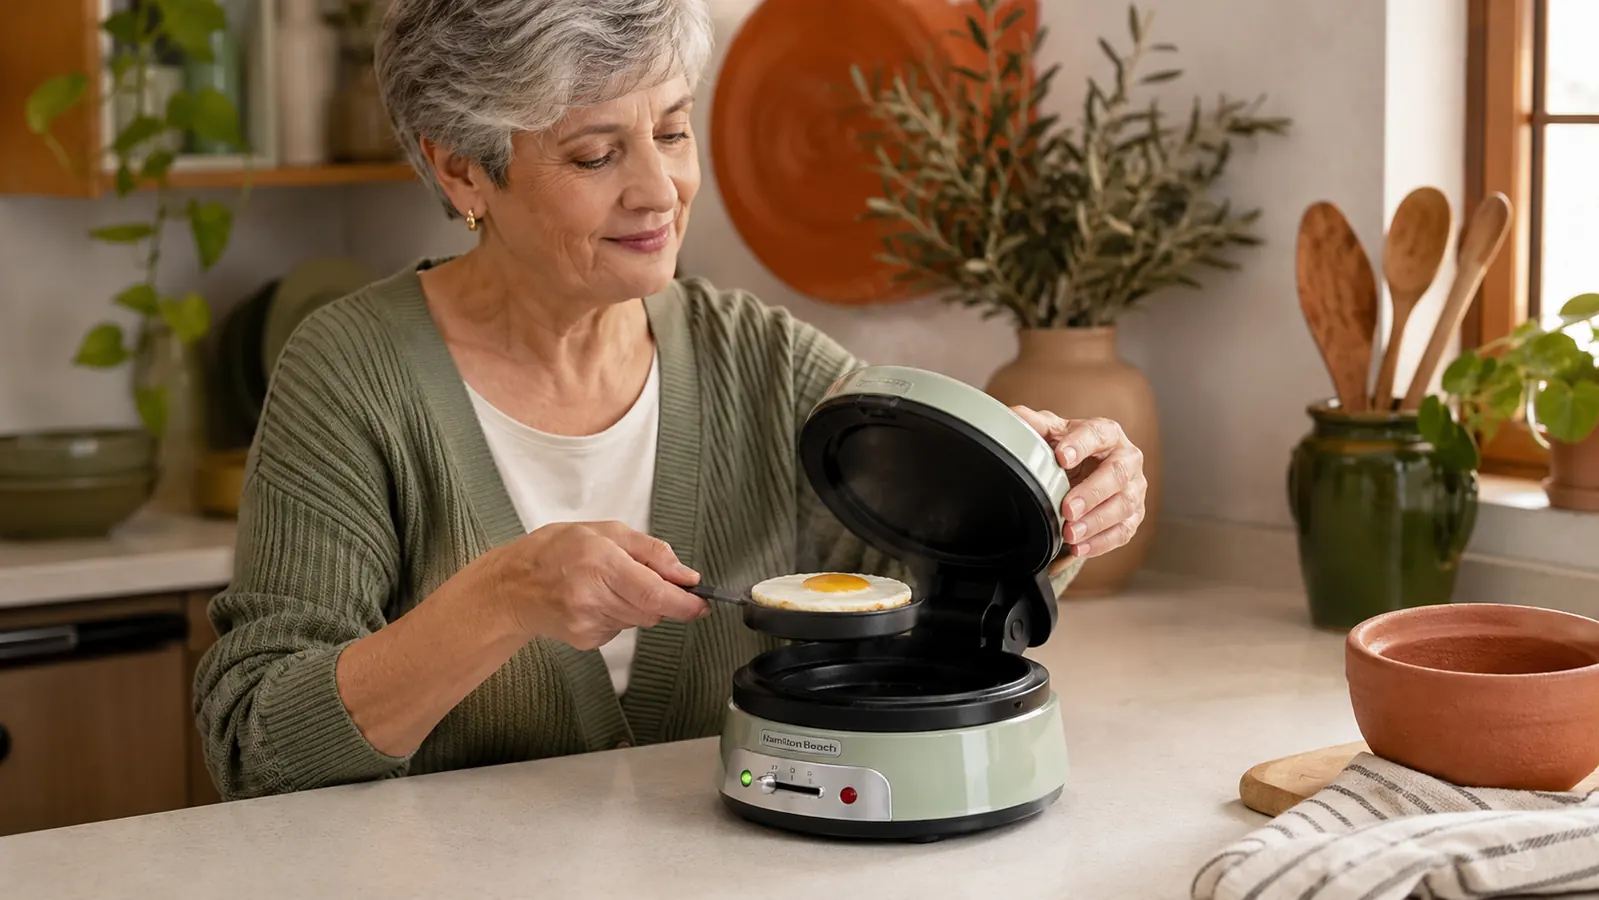
This is the step that actually makes the sandwich look like something from a restaurant. Set the egg ring into place above the meat layer, then pour your pre-cracked egg into the ring. Because the ring contains the egg, it cooks into a perfect circle that matches the muffin, instead of the ragged oval you get from a skillet where it spreads however it wants. If you like your yolk broken and mixed, give it a quick stir with a fork right in the ring before closing the lid. If you want more of a fried-egg texture with a soft center, leave it alone and let it set on its own.
Lay your cheese slice on top of the egg ring layer, then place the top half of the English muffin, cut-side down, on the very top. Close the lid firmly, you'll feel it click into place. This is also the moment to remind yourself not to peek every thirty seconds, because opening the lid early lets heat escape and stretches out your cook time.
Step 4: Cook, then use the rotating top to release everything at once
This is the part that took me a couple tries to trust. Most sandwich makers, including the Hamilton Beach model I use, have a top piece that rotates a half turn once the egg is set, usually after about four minutes of cooking. Rotating it flips the whole stack and releases the egg from its ring in one motion, so instead of digging a cooked egg out with a fork and mangling it, it drops neatly into place on top of the cheese, already centered.
The first time I did this I was sure I'd end up with scrambled egg confetti everywhere and a mess to clean up. I didn't. As long as you wait for the egg to actually set before rotating, and you don't force the rotation before it's ready, the whole thing comes apart cleanly. If you rotate too early, the egg is still runny and it won't hold its shape, so a minute of patience here matters more than anything else in the process. I now treat that rotation the same way I treat flipping a pancake, wait for the signs, don't guess.
After rotating, give it another minute or two, then open the lid. You should have a fully assembled sandwich, egg round on the cheese, meat underneath, both muffin halves toasted golden on the outside. Lift it straight out with a fork or a silicone spatula so you don't tear the muffin, and set it on a plate rather than trying to eat it directly out of the machine, since the base plate stays hot for a few minutes after you unplug it.

Step 5: Rest for 30 seconds, then eat it while it's actually hot
This step gets skipped by almost everyone, myself included for the first few weeks. Let the sandwich sit on a plate for about thirty seconds before you bite in. The cheese is molten right off the machine, and the egg is still finishing its residual cook. Half a minute is enough for the layers to settle so the sandwich doesn't slide apart in your hand, and it also saves you from a mouthful of lava-hot cheese, which I learned the hard way more than once, usually while trying to eat and read the news at the same time.
While it rests, this is also your window to add anything you want that doesn't need to be cooked into the machine: a few dashes of hot sauce, a thin smear of mayo on the top muffin, a slice of tomato, avocado if you're feeling fancy that day. I keep a little jar of pepper jelly in the fridge specifically for this thirty-second window, and it's become my husband's favorite addition, especially paired with the sharp cheddar.
What Else Helps
A few small habits made this routine even smoother once I'd been doing it a few months. I keep English muffins, sliced cheese, and a pack of Canadian bacon as a standing grocery list item, the same way some people always have milk on the list. Running out of one ingredient is the main thing that derails a five-minute breakfast into a fifteen-minute improvisation, and it's happened to me enough times that I now keep a backup package of English muffins in the freezer, just in case.
I also learned that cleanup goes faster if you wipe the plates with a damp paper towel while they're still warm, right after you take the sandwich out, rather than letting cheese harden onto the nonstick surface. It takes ten seconds warm and two minutes of scrubbing once it's cold, and that difference alone is enough to keep me from dreading the cleanup step. And if you're cooking for two, there's no rule against doubling the recipe. I've built two full sandwiches back to back in under eight minutes on a weekday, which is still faster than getting dressed and driving anywhere, let alone waiting in a line.
For dietary swaps, I've made this with egg whites instead of whole eggs, turkey bacon instead of Canadian bacon, and a low-carb English muffin substitute for a friend who's watching her carbs. All of them work the same way in the machine, no adjustments needed to the timing. The one thing I wouldn't recommend is using pre-shredded cheese instead of sliced. It doesn't melt into an even layer the same way and tends to clump in one corner instead of covering the whole egg. I've also found that a whole wheat English muffin holds up just as well structurally, if that's your preference over the plain kind, and doesn't change the cook time at all.
The egg ring is the whole trick. Once I stopped trying to replicate a diner egg in a skillet and let the machine do that one job, everything else fell into place.
Skip the drive-thru line tomorrow morning
If your current breakfast routine involves either skipping the meal entirely or waiting in a drive-thru line, this five-step method is worth the counter space. See current availability and price for the Hamilton Beach Breakfast Sandwich Maker.
Amazon Check Today's Price on Amazon →